
Backing up your WordPress site is a very import thing to do regularly. You do not know when something might go wrong so having a backup will remove that fear of “Oh My God what do I do, my site is broken!”. There are many different ways to backing up your WordPress site either manually or through a plugin. If you choose to use a plugin make sure you do your research and know how it works.
Follow the steps below to learn how to manually backup your WordPress Site through your cPanel account:
1.Login to your WordPress Dashboard.
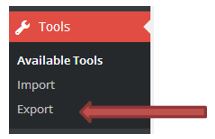
2. In the left sidebar hover over the tab labeled “Tools” and select “Export”.
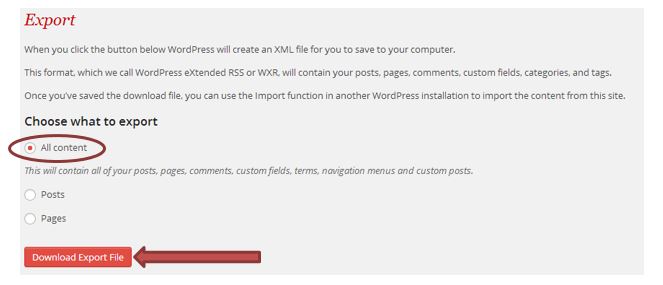
3. Make sure “All Content” is selected then click “Download Export File”.
Note: You might never need to use this file but it is good to have just in case.
The file will be downloaded to your computer, save it to a location you will know where to find it if needed for future use.
4. Login to your cPanel account.
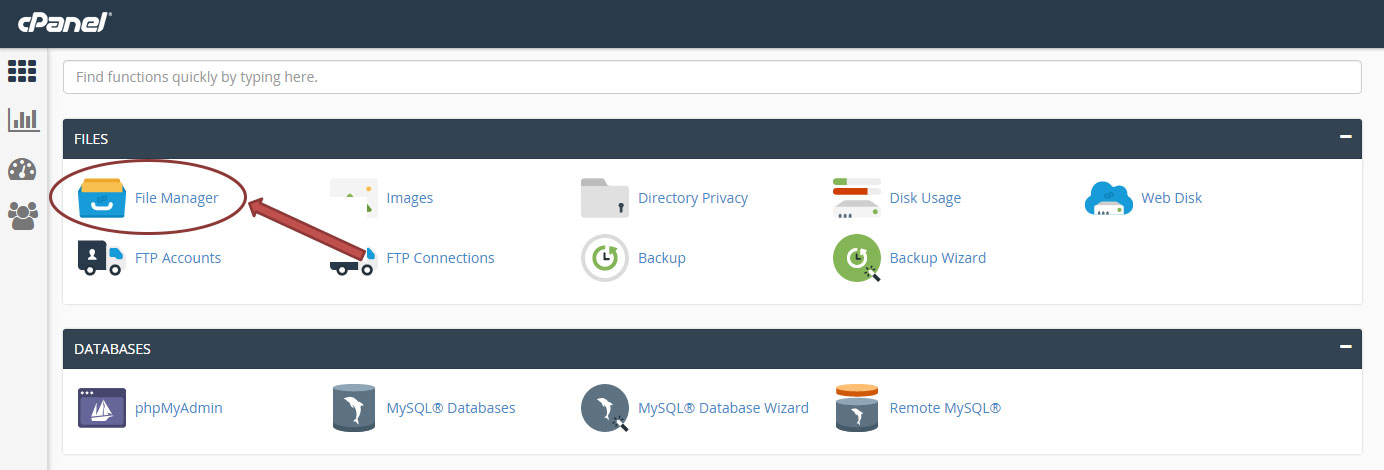
5. Find the Files section and select “File Manager”.
6. Select all the files that are related to your WordPress website and “Compress” to send the files to a .zip folder. Once your file is compressed you may leave it on your cPanel account if you have enough space or you can download it and save it on your computer, external drive, on cloud storage, etc.

7. Go back to the main cPanel menu. Find the Databases section and select “phpMyAdmin”.

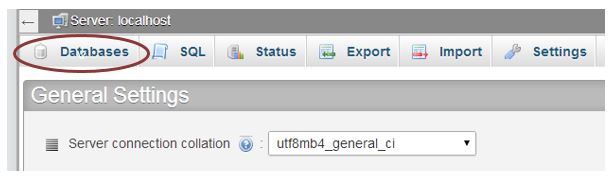
8. Click on “Databases”.
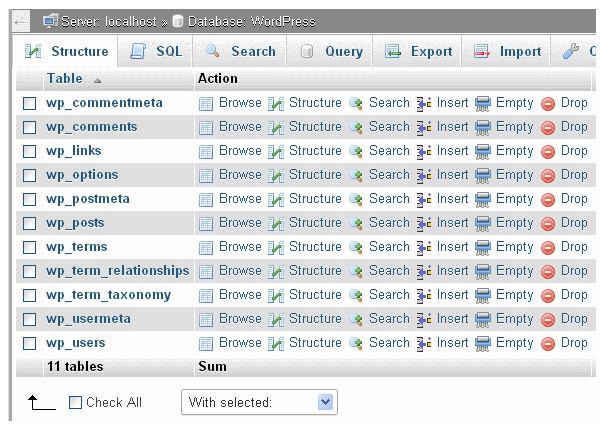
9. If you have more than one database you will need to find the one that holds your WordPress site. Below is a picture of the default WordPress tables in the Structure view tab. You may have more tables — this would happen if you have any added plugins that use a database to store information.
10. Select “Check All” at the bottom of the page and then select “Export”. There are two methods to export: Quick and Custom. I would recommend choosing “Custom”.
11. Make sure all tables are selected.
12. Under Output options change compression to gzipped.
13. Leave all other options as is and scroll to the bottom and click “Go”. It will then download the file to your computer.
Your site is now fully backed up! Just remember to move your backed up files to a folder related to the backup on your computer or storage location you prefer so you know where to find them in the future if needed.