
Images help make your posts and pages eye catching, interesting and can even help explain the message you are trying to get across. It is very important to not only add images to your site but also to make sure once you do that they are all compliant to web standards. Adding images to WordPress posts and pages is a fairly easy process and with our tutorial we make it even easier to understand and master.
Note: Make sure when adding images to your website that you only use images that you own or purchase, taking images from Google or other sources could cause you copyright problems in the future and you do not want that.
Follow the steps below if you need help adding images to WordPress posts or pages:
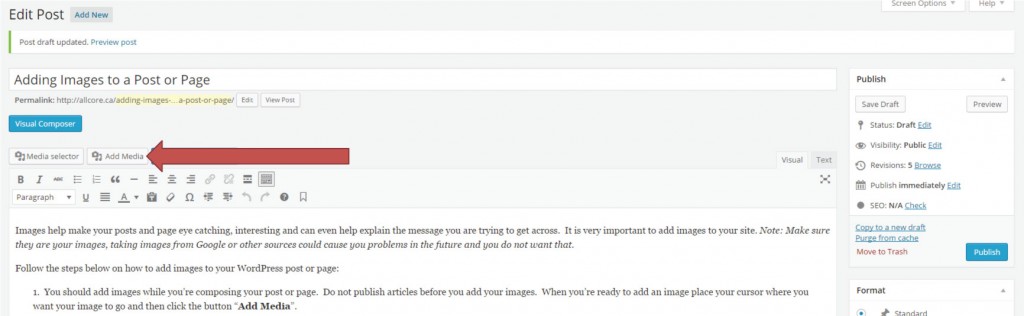
1. Access media upload section
You should add images while you’re composing your post or page. Do not publish articles before you add your images. When you’re ready to add an image place your cursor where you would like to place your image and then click the button “Add Media” near the top of the section.
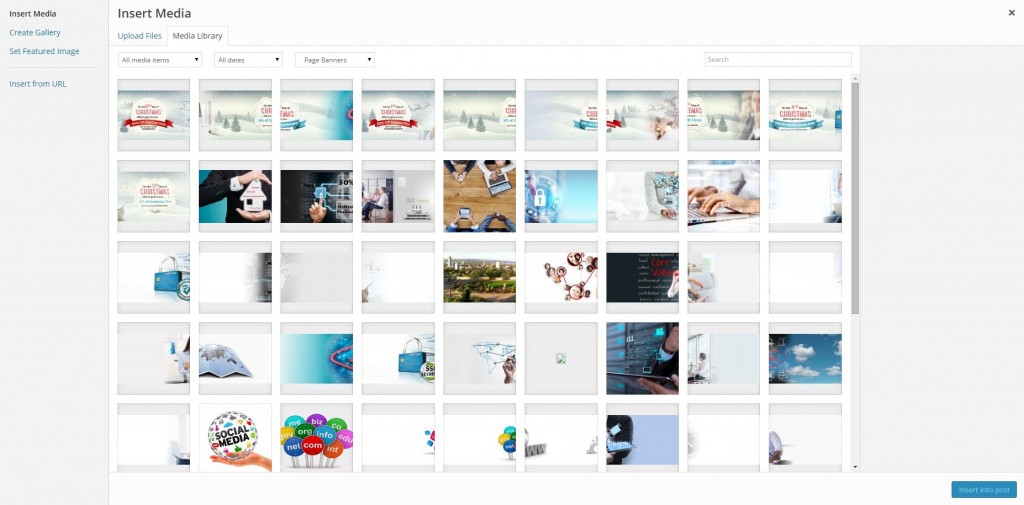
2. Select image
A window will come up and you will have two options to select your image. You can:
A. Use an existing image from your Media Library or
B. Upload a new image
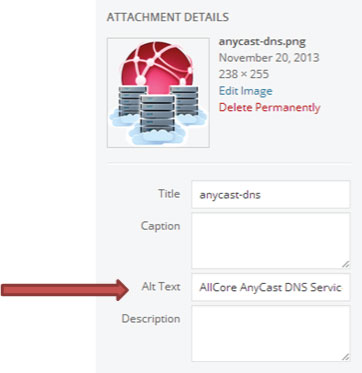
3. Make image Compliant to web standards
Once you either select your image from your media library or upload a new image, you need to make sure it is compliant to web standards for accessibility. On the right you will see a list of options you can fill in, you should always include the Alt Text and Title descriptions on all links and images. Alt text is a short description of what the image is and the title is what you want to name your image, it is a ideal to use images that correspond to your keyword for that post to help with your in-page SEO.
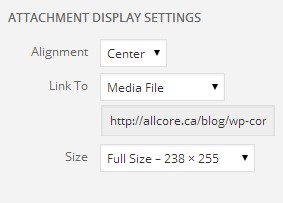
4. Image display settings
You can now make some changes to how the image will be displayed in the post or page; from the alignment, whether or not it links to another location and the size of the image you wish to use.
5. Insert image into post or page
When you are satisfied with your image click “Insert into post” and your image will be placed into your post. If you are not 100% happy with your image do not worry you can simply click on it and make any adjustments needed until you are satisfied.

There you have it; you just inserted an image into your post or page and now you can add more or save your post or page, preview your work and then publish it.