WordPress pages are the physical pages you see on your site; About Us, Contact, Home, etc. Content is constantly changing, especially on your Home Page so being able to edit it yourself is very important.
Follow the steps below to edit a WordPress page on your site:
1. Login to your WordPress Dashboard.
2. Once in your WordPress Dashboard hover over the tab on the left labeled “Pages” and then click the option “All Pages”.

You should now see a list of all the pages within your website.
3. Look through the list of pages until you find the one you want to edit. When you find it click the “title” of the page or hover over the title and click the link labeled “Edit”.
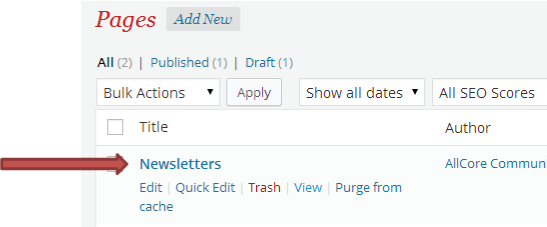 Once your page opens it should display all the content that is located on that page. If however your page is blank than the content is being pulled from a different location through special functions. If this happens you might need to contact your developer to find out where you can edit the content.
Depending on the theme used there could be two different views for editing your page:
a. Classic Edit Mode

b. Visual Composer
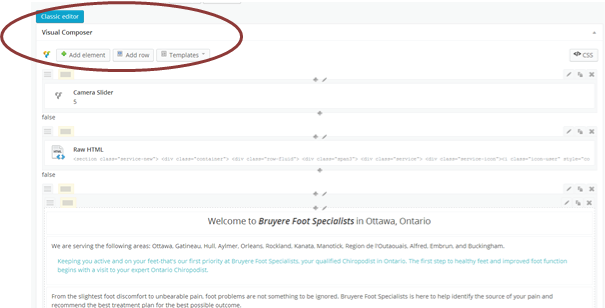
We try to use visual composer as much as possible as it give our clients an easier time editing and adding new content.
4.  Find the area you want to edit; in Classic Editor make sure you are in the tab on the left labeled “Visual” and then you can start making changes. Within the Visual tab the way your content looks in the editing section is close to how it will look on your website. This is called WYSIWYG; What You See Is What You Get, but it is not 100% correct so it is important to always preview your page before publishing it. Although if you know how to do some coding you can edit the page within the “Text” tab.
![]() In Visual Composer each section on the page is in its own separate editable area. This helps keep everything organized on your page and also determines the layout of the page. When you find the section you need to edit hover over the section and select the edit icon on the right top corner, the little pencil.
In Visual Composer each section on the page is in its own separate editable area. This helps keep everything organized on your page and also determines the layout of the page. When you find the section you need to edit hover over the section and select the edit icon on the right top corner, the little pencil.
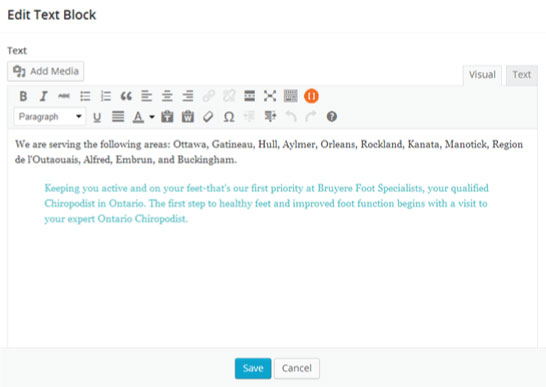
A new window will open up that will look like the classic editor and you can edit your content from there. An example of what that would look like is below. Once you are done your changes select “Save” at the bottom. Note this only saves changes to that section on the page not changes to the entire page so do not leave this page just yet.
5. With your changes done you can now view them before you publish them live to your website. Go to the top of your page and click “Preview Changes”.
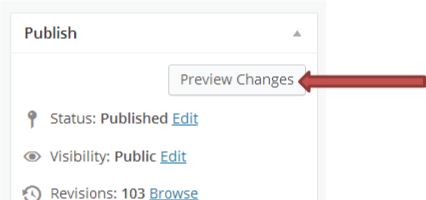
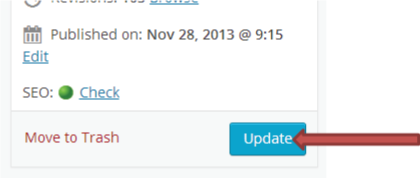
6. Once you are satisfied with how your page looks you can go ahead and “Update” it.
You are now able to edit a WordPress page to keep your site up to date. If you are still unsure how to make changes after this tutorial it is a good idea to backup your site before you do any editing.
